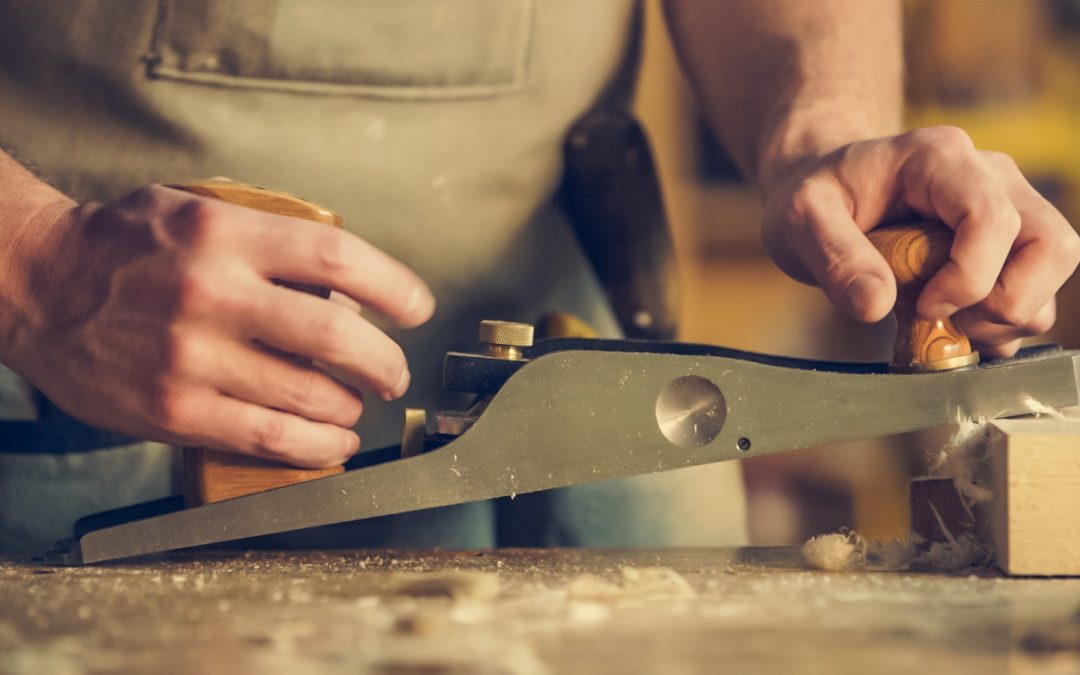
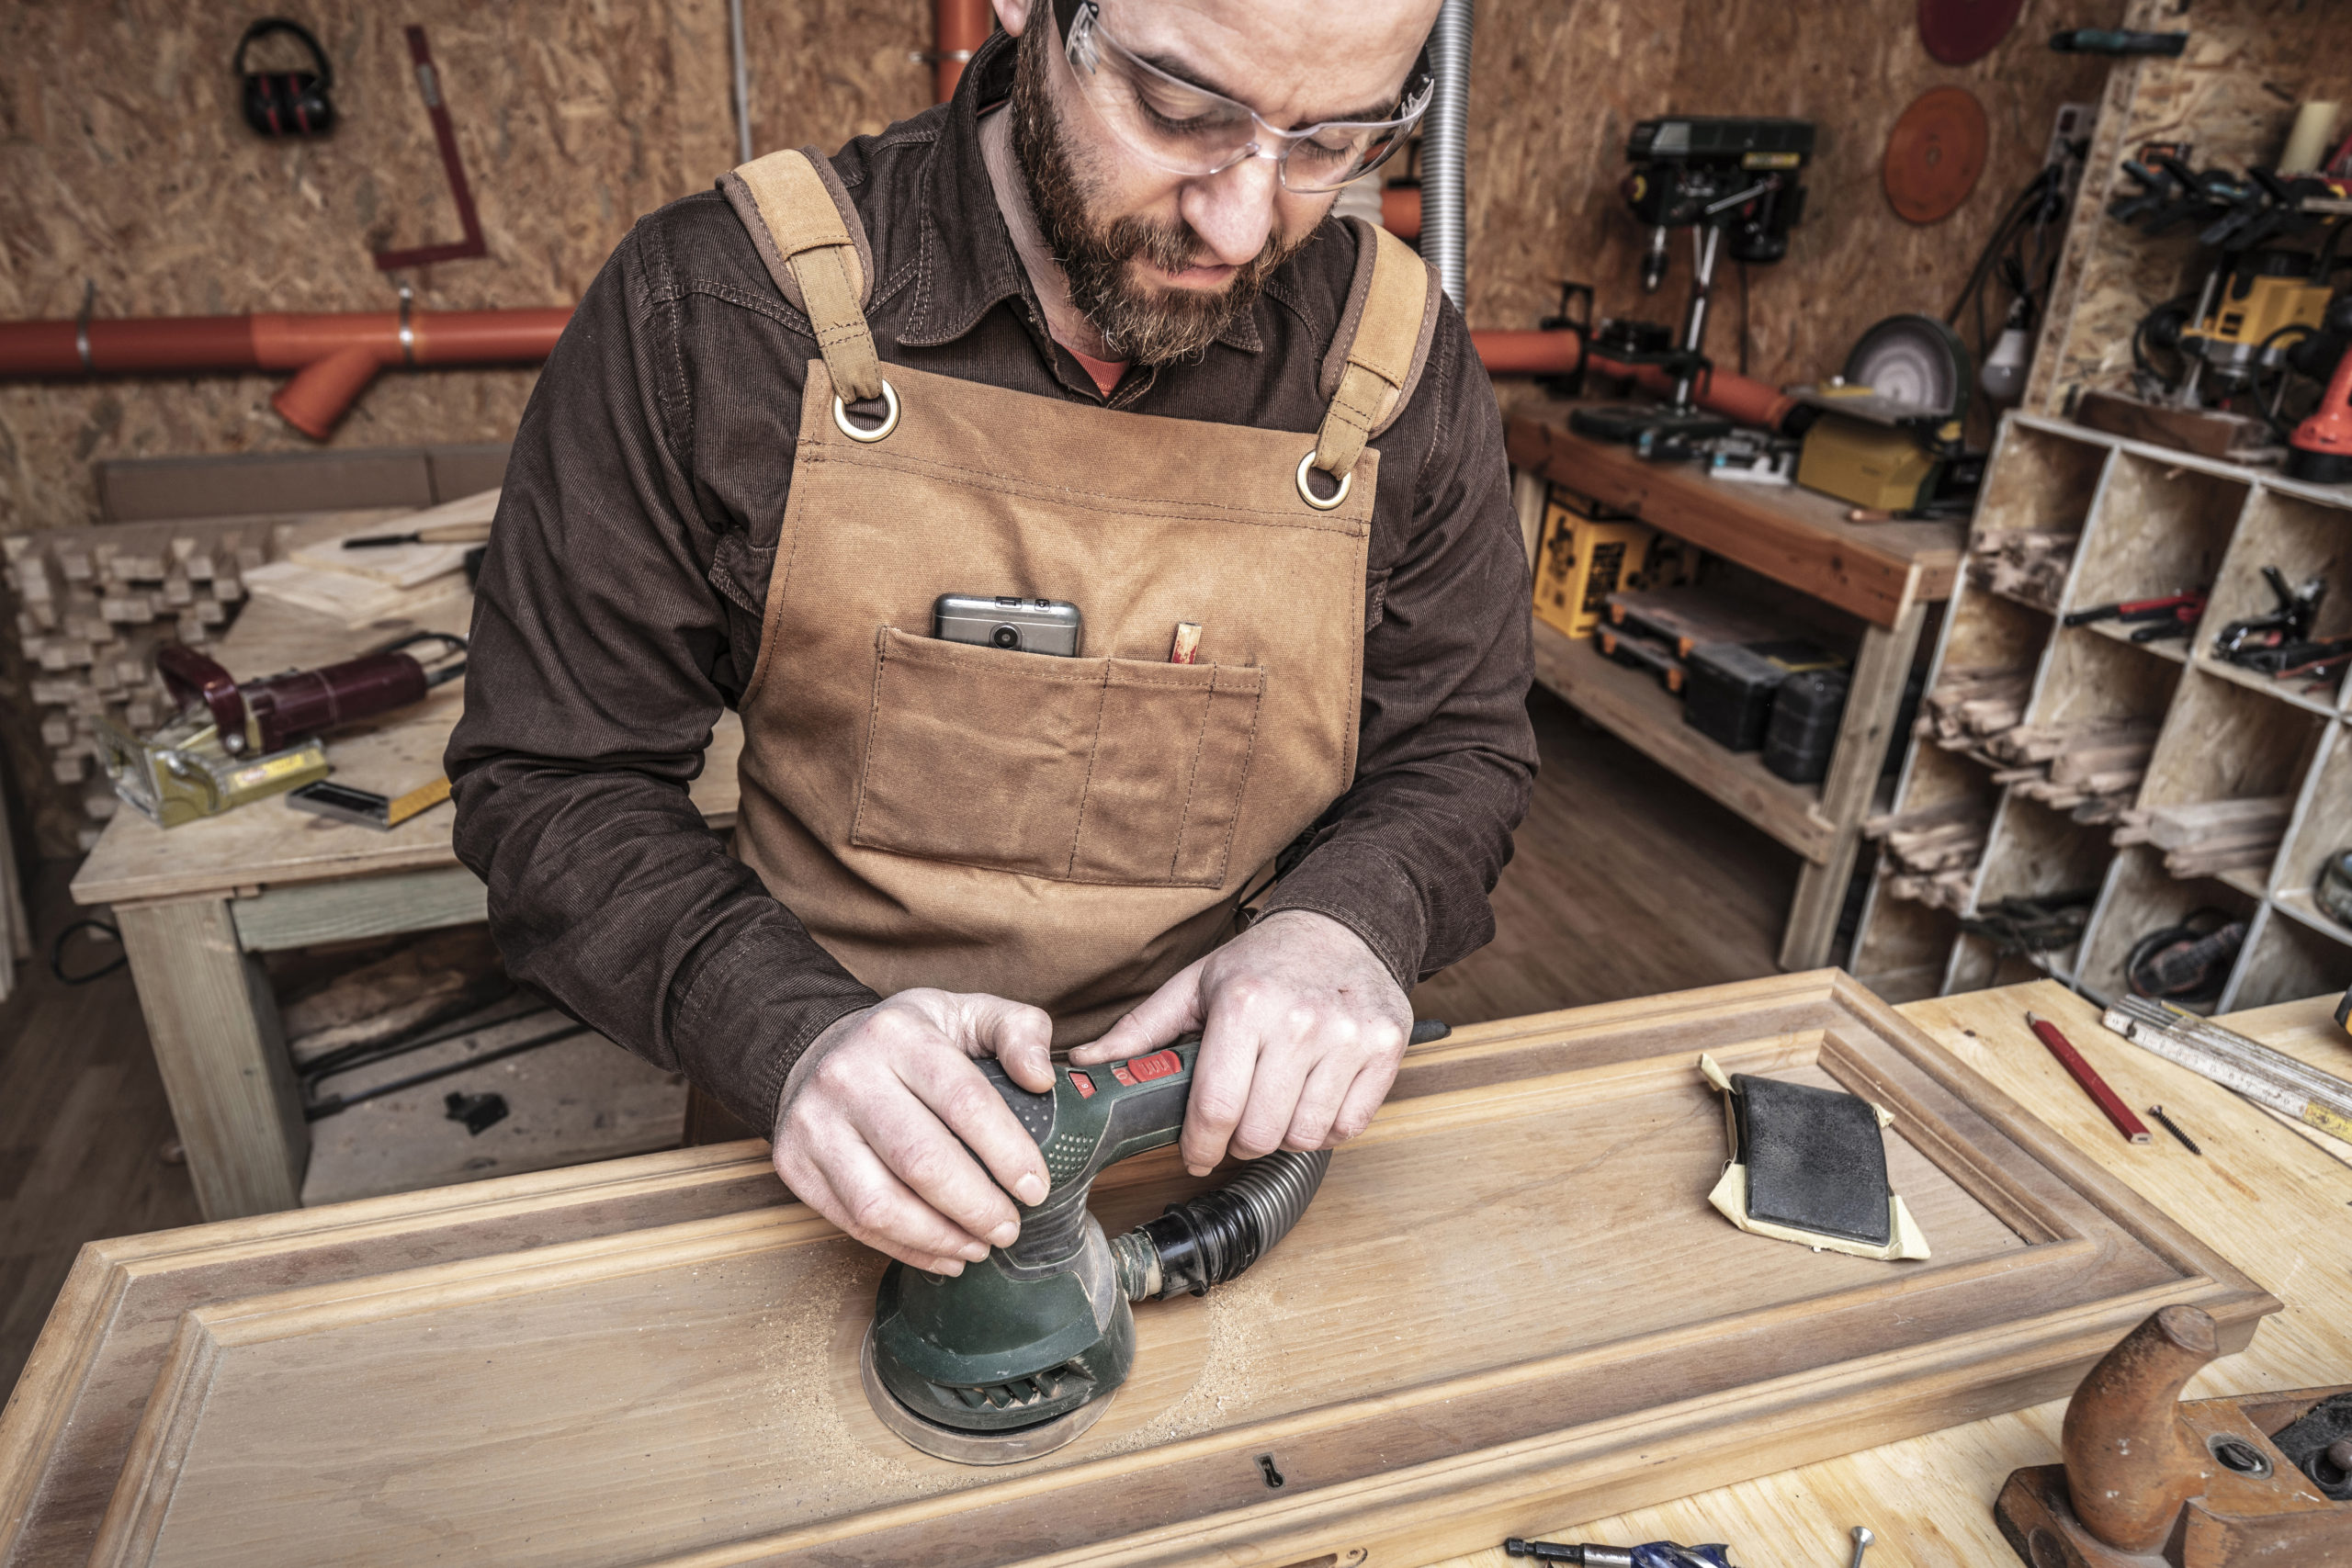
Some of the items you may want to have in your pack include; drills, hammers, saws, squares for measurement, and many other things you may want to use. It is also important to make sure that you get the right tools and have them serviced to avoid hurting yourself.
Once you have gotten yourself organized, here are some of the projects that you may consider working on:
1. A Wooden Shelf
A wooden shelf is a perfect place to start when it comes to woodworking. It mainly comprises the rack itself and brackets fixed firmly or just placed on top of them. Bigger shelves contain at least two frames held firmly to wall studs. However, when the shelves are longer, then you will require more brackets. You can easily get racks from a hardware store or even at a home center. They come in various types.
When getting to install your small wooden shelf, here is what you will need to do:
- Identify the wall stud and indicate where the wall’s first shelf bracket will be. After this, hold a shelf support bracket over the stud and utilize it as a template to indicate the position of the mounting screws on the wall.
- Insert the bracket with screws. Ensure that your screws are sufficiently long enough to pass through the wall stud by at least an inch or more.
Mark where you will put the second stud. A common practice is to place the wall studs at least 16 inches apart. Once you have measured the distance, set a carpenter’s level on the first bracket
- To extend a level line to the second stud and then clasp the second bracket into position. While you are at it, mark the second set of mounting screws on the wall.
- Mount the second bracket with screws. Ensure that the screws will be sufficiently long to pass through the wall stud by at least an inch or two.
- Mount the shelf on to the support brackets. You can use shorter screws to ensure the frame to the brackets is well in place.
2. A Small Table
A small table is another item you can try out as a beginner. Once you have gotten some wood, here is the procedure:
- Have your measurements in place. This is according to the size of the table that you might want to have in your home. Once you have done that, cut the wood into pieces that you will need for the top and the legs, and other parts. It would be best if you remember to sand the pieces to smoothen the cut pieces.
- Assemble all the parts you will need and make sure that every piece you have for the joints is 90 degrees. Once you have done that, drill a hole one or two sizes less the size of the screw. Then put the screw through that hole.
- Once you have created the frame, add the plate to the frame’s right and left sides. Remember that the plate is what ensures the steadiness of the legs. Attach each plank and then screw them down in four places.
- Attach the legs. Pick the planks that you cut off for the legs and now screw them in. Place at least three screws on each leg to form a perfect triangle.
- Once this is done, you can paint your table. Be sure to use a sealant layer because it stays longer and makes the table spill-proof.
3. A Small Wooden Couch Sleeve
This is also a great project that you might want to pick. Here is what you need to do to get yourself a wooden couch sleeve.
- Settle on the wood dimensions that you will require by measuring the sofa or armchair. Once you have done this, it is time to figure out your arm’s width and height. This will help you figure out which method you will want to use.
- Make a center on the hole saw on one end of your top piece of wood. Indicate the middle point of the position where the pilot drill will get started. Remember to keep a tight grip on the wood to avoid the hole saw skipping and damaging your wood. You can use a clamp to put it in place.
- Smoothen the inside, top, and bottom of the hole. That said, avoid the edges and the corners. If you do anything on the edges or corners, the boards will not be flushed when connected.
- Using a mildly thin layer of wood glue, apply it to one long edge of your sideboard. You can even use your fingers to smoothen the wood. However, keep a damp cloth close to clean your fingers.
- Once you have finished applying glue, you can clamp the glued sideboard to the top board. While you are doing this, ensure that the pocket holes are looking inside. Ensure that the boards are perfectly in sync on both ends before making the clamps tight.
- Once you are done gluing and clamping, give the hole pieces a thorough sanding. You can then now apply a coat of wood stain and wait for it to dry for at least 12 hours. You can then buff and then use a bit of a second coat if you notice that some areas are lighter after grinding.
- Insert a square piece of thin plywood at the bottom side of the hole using wood glue. Do not put too much glue on the wood. After you have done this, clean the excess adhesive to avoid it being seen on the end product.
- Seal the sleave with light coats of polyurethane to keep it away from cup moisture condensation.
Woodworking projects are some of the best ways to spend your time. With these procedures, you can make a table, shelf, or a couch sleeve and have fun while at it.


